
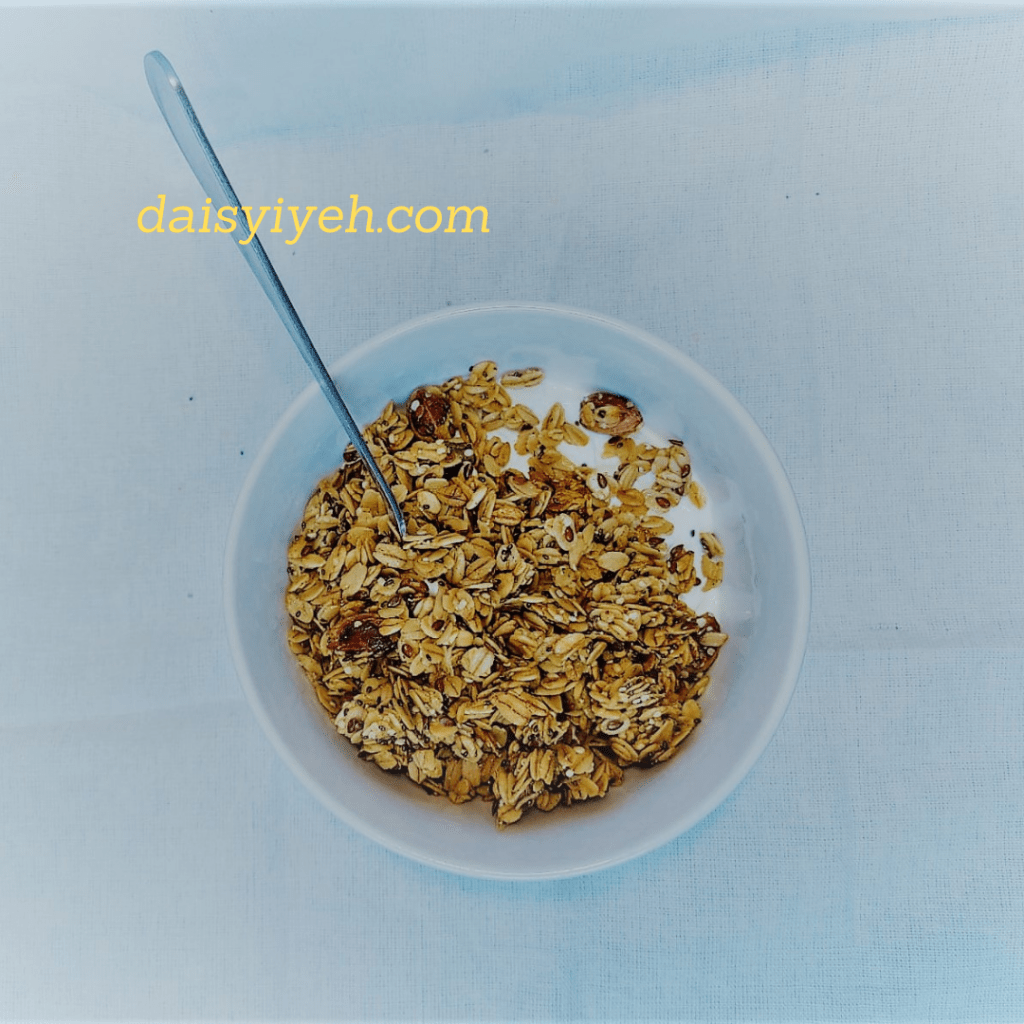
I just love granola! It is so yummy and versatile. You can eat it with yogurt, milk or as a super crunchy snack. The low calorie granola recipe I share in this post is very simple and easy to make.
<p value="<amp-fit-text layout="fixed-height" min-font-size="6" max-font-size="72" height="80">Making your own granola is a wonderful decision, as it ensures you are in control of the quality of ingredients used; and let me tell you, once you go homemade, you wouldn't go back. Home-made granola also has the potential of being super healthy, if you restrict yourself to a single sugar source, use whole grains, unrefined oil and super seeds!Making your own granola is a wonderful decision, as it ensures you are in control of the quality of ingredients used; and let me tell you, once you go homemade, you wouldn’t go back. Home-made granola also has the potential of being super healthy, if you restrict yourself to a single sugar source, use whole grains, unrefined oil and super seeds!
Home made granola is also super easy to make. All I used are:
- Old fashioned rolled oats (these keep their shape during baking).
- Nuts (Pistachios or Cashew Nuts are my go-to nuts but other recipes use walnuts, almonds, or peanuts). Nuts are great sources of healthy fats (Omega 3s and 6).
- Seeds (I love using seeds for their fibre, protein, antioxidants and healthy fat content. They also add a wonderful crunch to the final product).
- Natural sweetener ( I always use only one added sugar source. I love using maple syrup).
- Oil (for this recipe, I use avocado oil, but you can use coconut oil as well. Both are divine for healthy granola)
- Spices: sea salt adds flavour to your granola. In baking, salt also enables crunchy layers to bloom forth at the cool down stage. I also added cinnamon, vanilla extract and nutmeg for extra yummy flavours.
- Optional add ins: Most recipes include dried fruit, chocolate chips and coconut flakes. I, however skip these as I try to keep my granola as low caloried as possible.
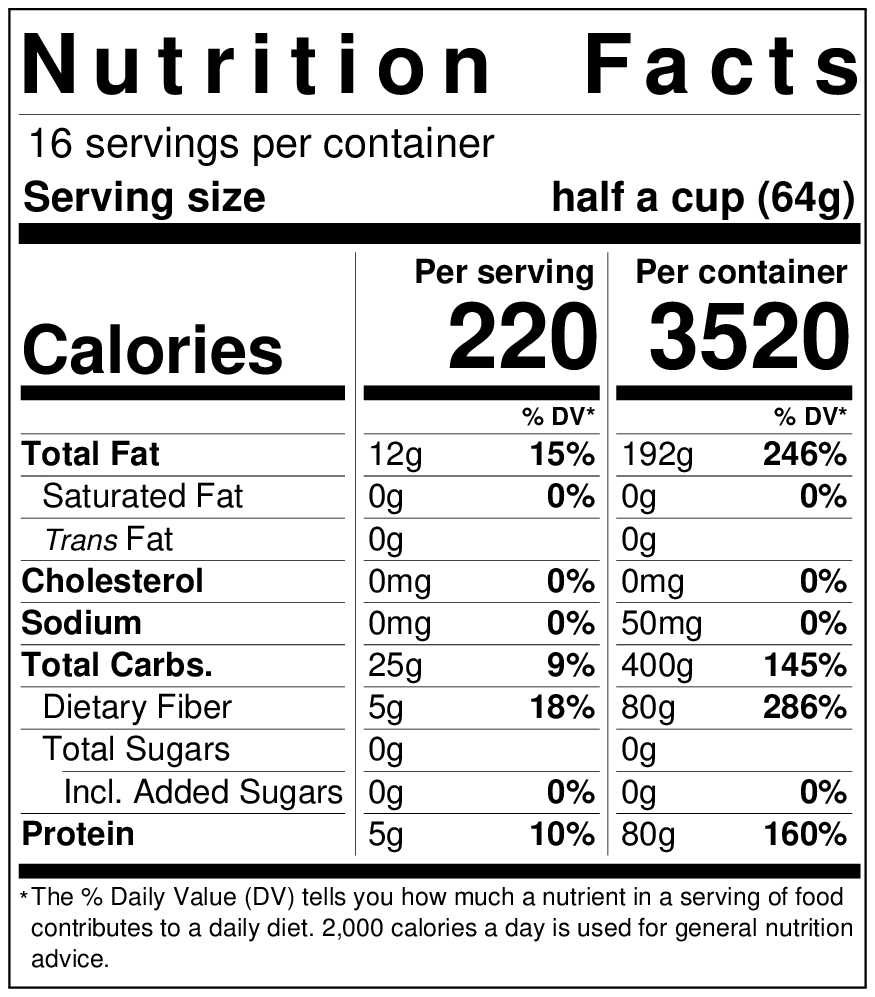
Granola can be highly calorific, the more you put into it, the higher the numbers, so keep it simple.

To get the perfect texture at the end of the baking process, I would advice, you do the following:
- Bake on a parchment lined pan, to ensure the honey and oil stick to the oats and not the pan.
- Do not break up the cooled granola too much, if you like clumps instead of loose grains. I prefer loose grains though…just do you 🙂
- Do not bake for too long and turn the mixture half way through the baking process, to ensure an even golden brown hue.
- Let the granola cool down completely before breaking it up. This gives you more clumps and allows the granola stay crunchy, crispy and dry.
- Store in an air tight container (alternatively, you can store it in the freezer for a longer life span.

This recipe yields 16 servings (in half cup quantities).
INGREDIENTS:
- 4 Cups Rolled Oats
- 1/4 Cup Pistachios (or any nuts of your choice)
- 1/4 Cup Chia, Flax and Hemp Hearts (I used all three….I love seeds)
- 1/2 Teaspoon ground cinnamon
- 1/2 Cup Avocado or Coconut Oil
- 1/2 Cup Maple Syrup
- 1 Teaspoon Vanilla Extract
- 1/4 Teaspoon Nutmeg
- 1 Teaspoon Sea Salt

INSTRUCTIONS:
- In a large bowl, mix all the dry ingredients.
- Pour in the wet ingredients. Mix well and ensure the oats are evenly covered .
- Pour the mixture unto a baking sheet lined flat pan and spread out in an even layer (use a wooden or silicone spatula).
- Pre-heat your oven to 350F.
- Bake until golden brown for 24 minutes. Stir the mixture halfway through the baking process.
- Allow the granola cool down for about an hour.
- Break into pieces and desired chunk sizes. Place in an air tight container (I used mason jars).
- Store in a freezer, if you want to preserve it beyond 2 weeks.
- Enjoy with yogurt, milk or as a snack.
Please share your experience when you make this and also tag me on Instagram @daisyiyeh
I look forward to seeing how you make this your own!!

Leave a comment